This is a step-by-step guide on how to scan an object for 3d printing. This method is a powerful way to reverse engineer the process and add valuable tools to the workflow to prototyping designs.
Turn Physical Object Into Digital 3D Models
3D scanner app can convert a physical object into meshes, but not solids. In another word, 3D scanner can get the general overall shapes of the object, but it still need some polishing work.
Mesh is the surface of a shape with triangles connected edge to edge, and it doesn't have any information about the object.
Solid contains dimensional information for a single feature, and the rest of the model can update to accommodate the change. So it's much more flexible and logical to work with.
Scanning Preparation
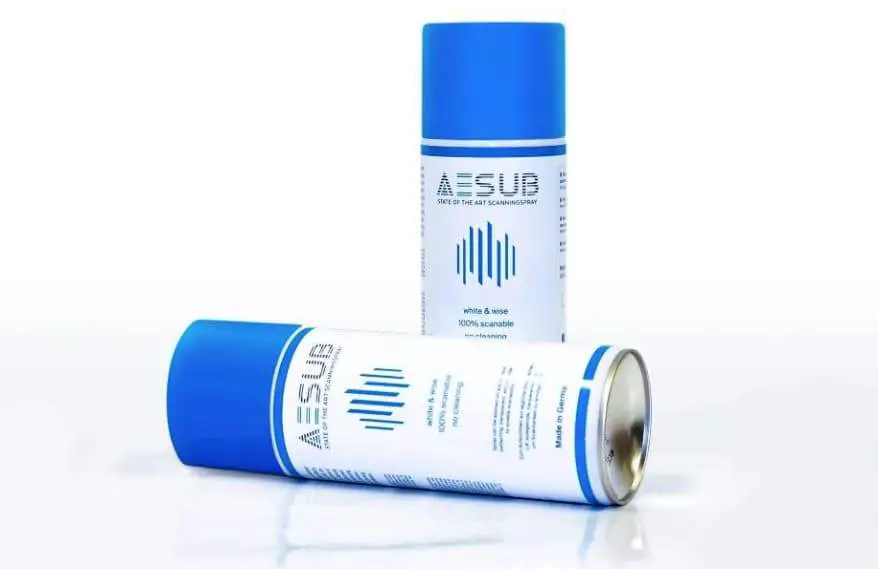
Spray the object with temporary matte power to improve the surface for better scan accuracy. The goal is to get rid of glossy or reflective surfaces that tend to lower the scan quality.
Parts that are transparent CANNOT be scanned without matte coating.
Scanning
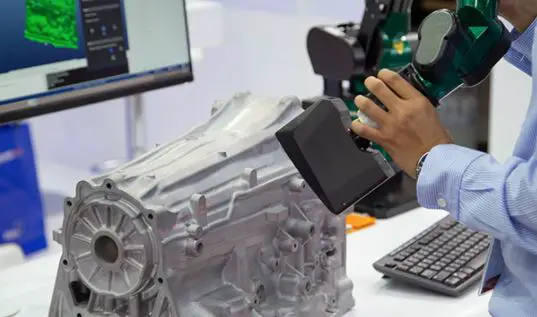
Use high definition 3D scanner to capture the most important parts of the object.
Make sure the object is on a clean platform without other distracting things around.
Make sure good quality tabletop lights are placed.
You can check out some of these scanning apps here, or use a dedicated handheld scanner with higher degrees of accuracy.
Take a step further - Orient the object differently and re-scan it several times if the object has deep recesses for better geometry
Refine The Mesh

Scanner software can optimize the model from a very large mesh file to a smaller one.
Post-processing can repair small gaps and interpolate missing features to the model, so it can make the data more manageable in CAD.
The process isn't 100% accurate, but it does the job to clean up the model without compromising details.
Try Autodesk Meshmixer to refine scanned meshes.
Import Model To CAD Software
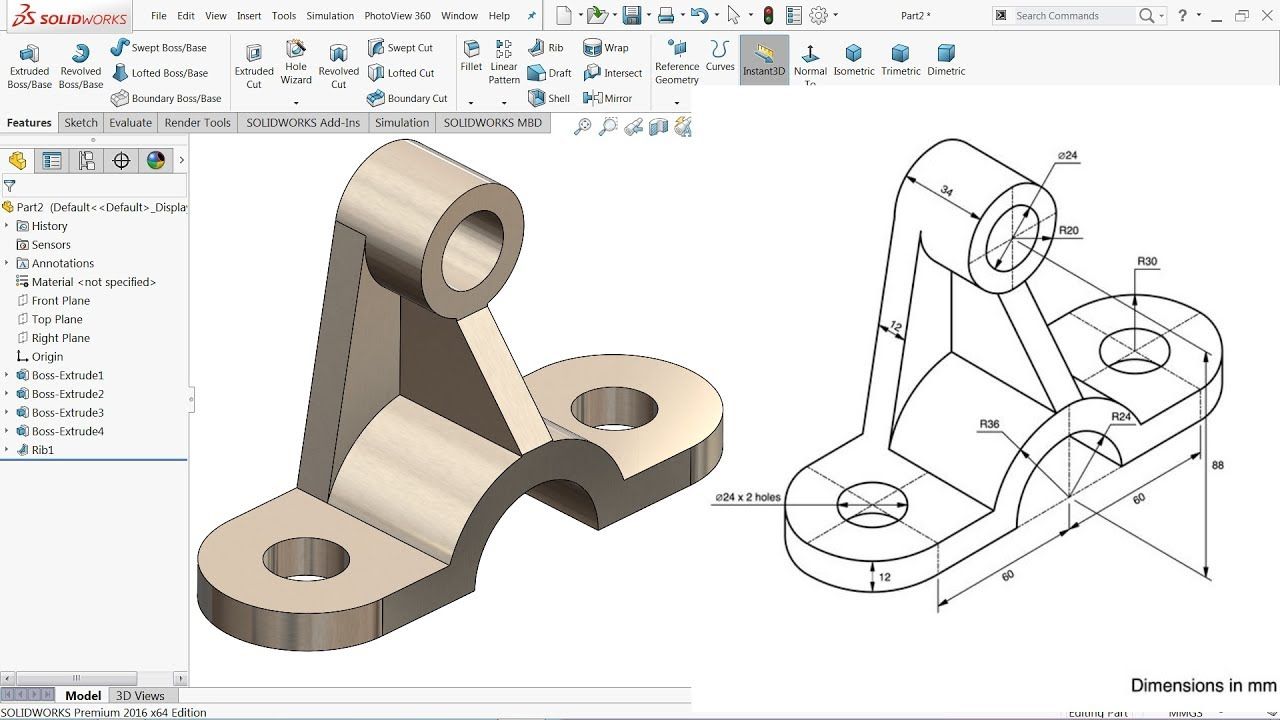
Once the file is imported into CAD software, then the focus is to resurface complex geometries and shapes.
This can be a long process depending on the object.
Geomagic inside Solidworks can do the job very well.
Extract Key Surfaces
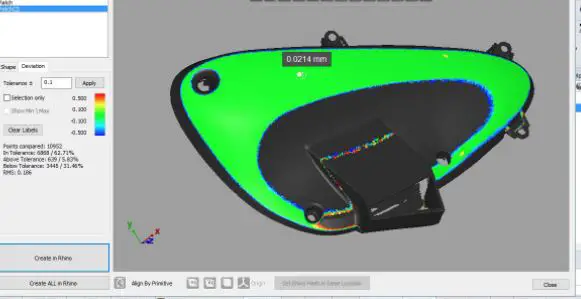
There are typically 3 tools to use inside CAD software to extract the shape of a mesh object.
- Semi auto surfacing
- Automatic surfacing
- Manual redrawing
The goal is to strategically use one of these tools to process the cleanest model.
Semi-auto surfacing - It generates surfaces that fit to detected regions of the scan. Works for complex curved surfaces that are difficult to manually draw. Repetitive processes may required with different sensitivity settings to detect all surfaces
Automatic surfacing - It generates a solid model from any wateright scan. This is helpful when processing ergonomically shaped objects, and it's a great tool to use to save modelling time.
Manual redrawing - It redraws features the fastest and most accurate for something like holes, pockets, bosses. It basically helps the designer to match the shape of the original object.
Convert To STL For 3D Printing
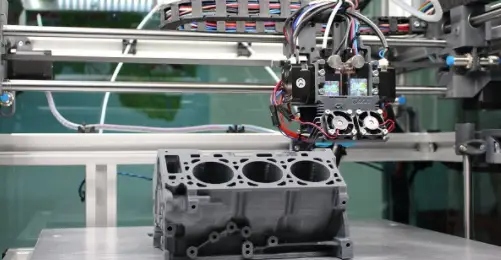
Convert the model to STL file for the slicer software to process the G Code instructions, then send it to a 3D printer that is capable of printing the material of choice.
