In this guide, you will learn step-by-step instructions on how to create virtual reality split-screen videos to work with your VR devices.
We will cover how to turn a 2D flat monoscopic video into a stereoscopic video as well as dual fisheye lens videos.
Turn 2D Flat Video Into VR
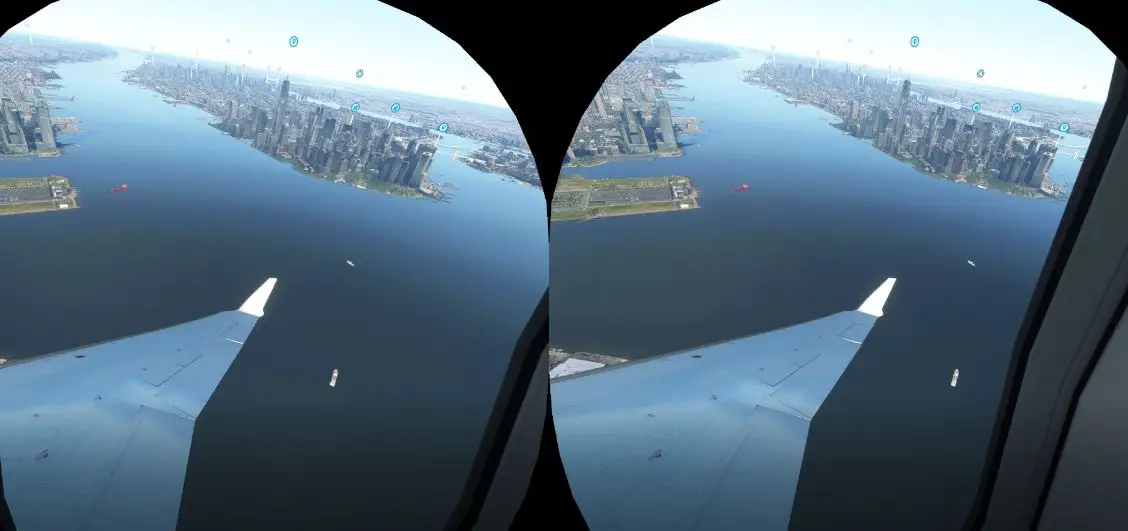
The overall concept is very easy. We simply copy the video and make one for the left eye and another for the right eye. You can easily do this in Adobe Affect Effect or Premiere Pro.
Try the 30-day free trial here.
Adobe Premiere Instructions
Step 1. Start a new project, and set VR properties to steroscopic side by side
Step 2. Import the footage
Step 3. Add VR Projection effect to the layer under Video Effects to immediately turn the video to side by side video
Step 4. Click on toggle VR display to test the video in VR to validate the image depth
Note: To edit inside VR, please perform the following steps
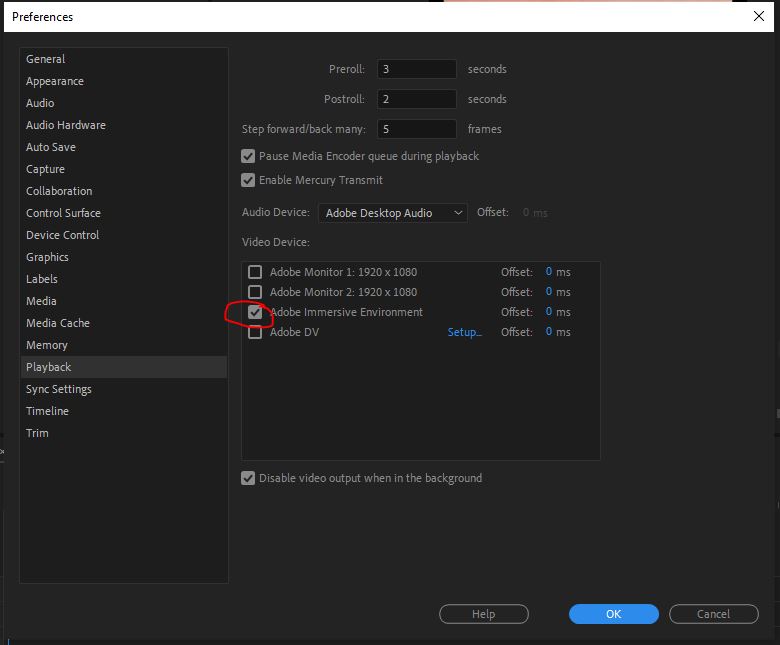
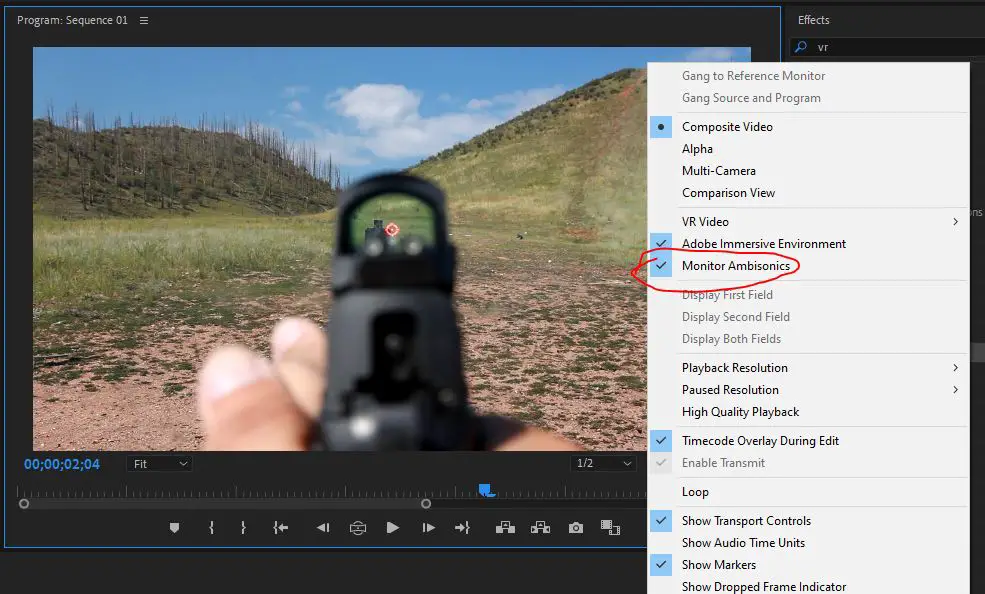
- Go to Edit > Preference > Playback, Check Adobe Immersive Environment
- Enable VR toggle button and Monitor Ambisconics
- Now you can edit directly inside VR without taking the headset on and off for every little tweak
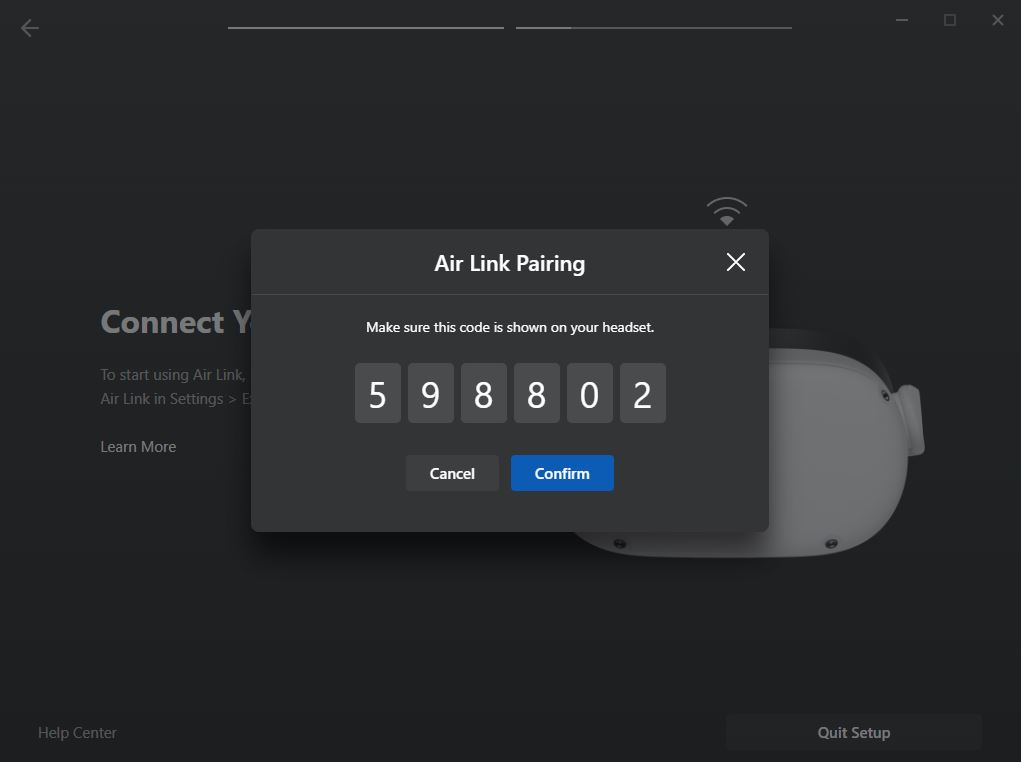
(If you're using Oculus Quest 2, you can connect it to PC via Air Link, See instructions here)
Step 5. Change the pan direction to the subject in the video you want the viewer to see
Step 6. Export to HEVC H.265 to have better compression ratio for better image.
Try 60 Mbps bit rate and set stereoscopic side by side with horizontal and vertical FOV to be 180 degrees.
Step 7. Update the video to YouTube or Oculus Media Studio to watch
Use A Video Converter
Using a video converter is 50X faster for anyone unfamiliar with Adobe video editing software. We recommend using the VideoSolo Ultimate 3D Maker app on the computer.
Step 1. Pick 3D Maker
Step 2. Import The Video
Step 3. Select Anaglyph or Split Screen, and adjust the depth of the 3D effect.
Step 4. Change output format and resolution quality
Step 5. Hit Generate 3D and you're done

